What’s de difference between tarts and pies? Let’s make this lemon tart recipe and see if we care about it at all!

Who thought that pie making can be complicated? Well not so much as we are still talking about a pie or tart not a Dobos torte but there are special techniques to follow to achieve the perfect crust.
Like when we bake blind pie crust which is the case when we prepare lemon tart. Blind baking means that we make a pie without filling, baking only the crust fully or partially depending on the type of dessert, we try to create.
Although baking blind seems like an easy task, it requires certain knowledge, preparation and equipment in order to fully accomplish an even and occasionally golden-brown crust.
It’s not that crust can’t be made by randomly throwing in a tray of buttery flour in the oven with some sort of success. But those. who once did it, know that the knead in moisture of the flour will evaporate soon after getting into the oven causing the pastry to elevate.
The flying pie crust may look fascinating for some time, but unfortunately it generally causes uneven surface, and in worst case scenarios tearing and utter failure of our attempt, kicking our pride into a dark and deep corner which says “can’t even bake an empty cake”.
It’s not our fault really if we come from a non pie based culture as we couldn’t have known that pie crust requires special care and attention when pre-baking them.
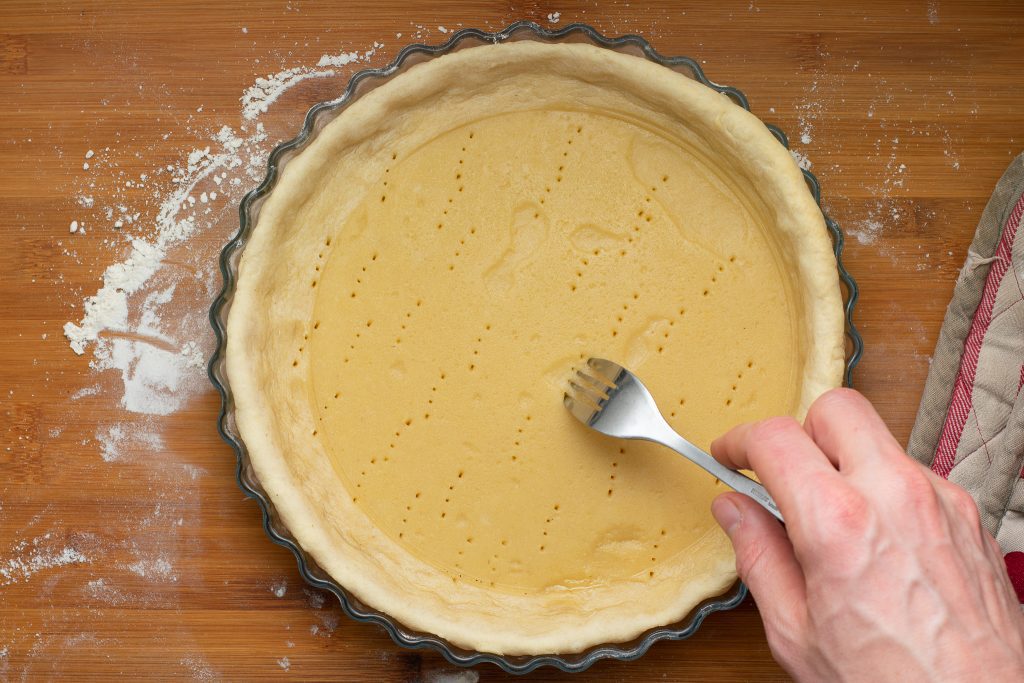
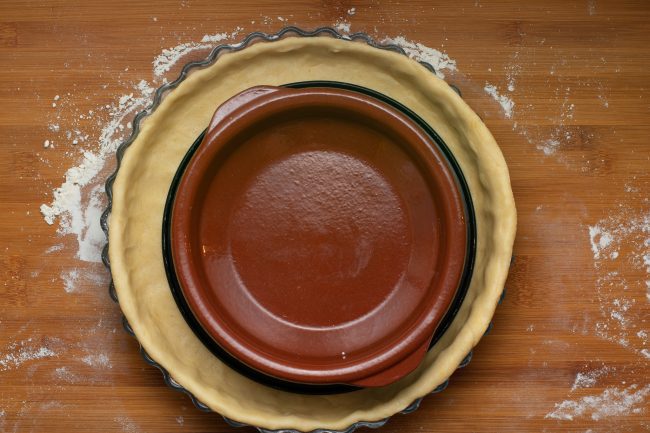
Sticking the fork various times into the pastry before baking is there to help the moisture evaporate, reducing the possibility of puffing and tearing but it won’t stop keeping the crust in the tray. For that, there are special tools available in the form of ceramic ball pie weights specially designed to weigh on the base while still facilitate airflow thus evaporation.
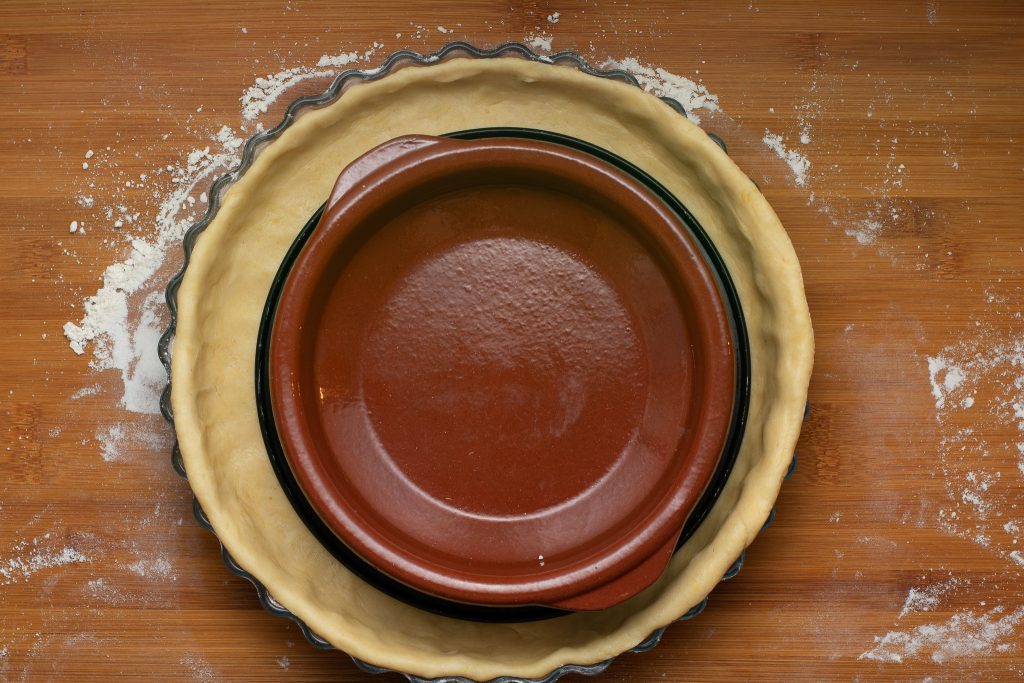
Worry not though if such special equipment isn’t available at crucial moments of preparation because of our cultural handicap or simply lack of incentive in investing into ceramic pie balls. We can use our creativity with a bit of baking sheet to add something heavy onto the crust until it shapes.
Don’t think of anything like a baking steel, though. We don’t need to kill our crust, just keep it in place and for that task another pie sheet would do just fine until we start pursuing the perfect crust day after day.
Filling the baked or half-baked crust with all sort of goodies is up to us then. There is a myriad of options when we master this crucial step not only with pies but further complicating the landscape with tarts and flans as well.
All of them are essentially similar with tiny differences, like pies have some sort of crusty top, while tarts have not. Thus, we are calling this thing we make a lemon tart and not a lemon pie because it won’t have a top other than maybe a bit of whipped cream if fancy takes us there.

Ingredients
Crust
- 2 cups / 250g Flour
- 7 tablespoons / 100g Butter (room temperature)
- 1 tablespoon Honey or sweetener of choice (optional)
- 2 Eggs
- 2 tablespoons Water
Filling
- ¾ cup / 200ml Heavy whipping cream
- 3 Eggs
- 3 tablespoon Honey or sweetener of choice
- 3 Juice of lemon
- 1 Zest of lemon
Kitchen equipment
- Ø9½” / Ø25cm Baking tray
How to make Lemon tart
Crust
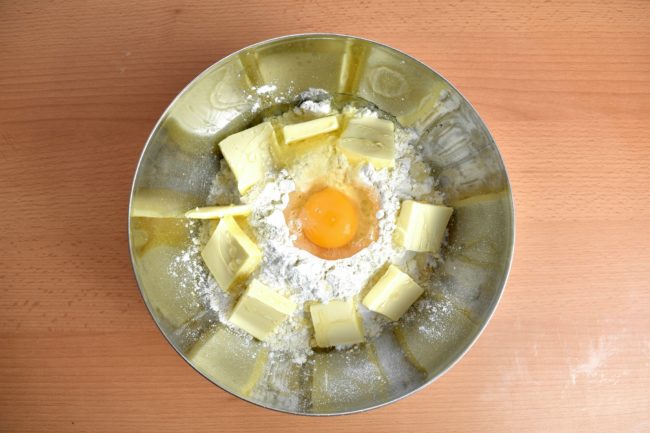
- Measure crust ingredients: flour, butter, eggs, honey or sweetener of choice and some water into a mixing bowl.

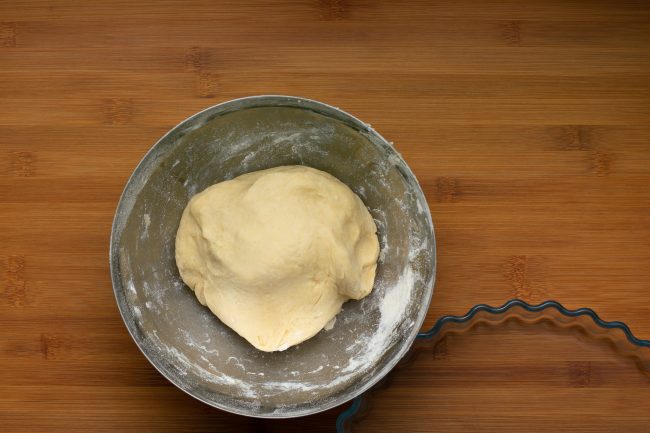
- Knead it by hand until it comes together and doesn’t stick neither to bowl nor to hand.
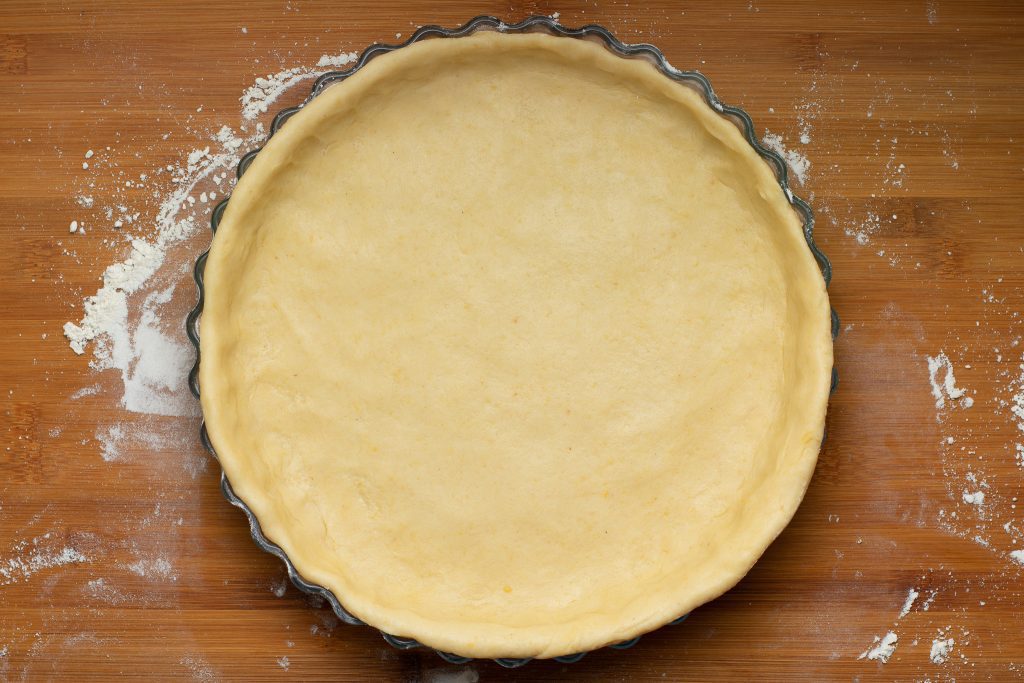
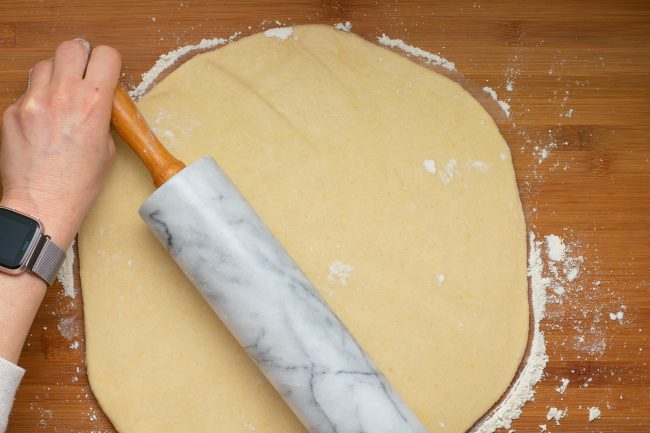
- Take it out to a lightly floured surface to roll a disk size of the baking tray out of it.
- Place the disk into the baking tray. Press down gently on the bottom and sides.
- Poke some holes in the dough with a fork.
- Place a baking paper and some kind of weight on top to prevent the dough elevating from the tray.
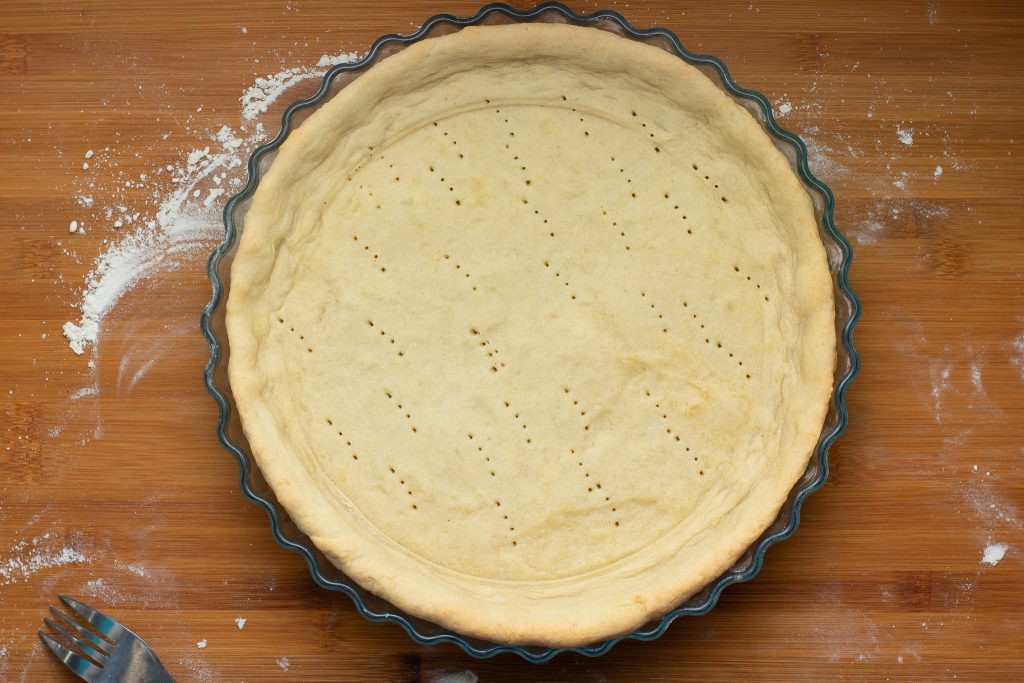
- Put it in the preheated oven to bake about 10 -15 minutes until the crust sets. Baking balls can be left there during the whole time but other weights should be taken off about halfway through the pre-baking otherwise the dough doesn’t set properly.
- Once golden brown spots starts to appear the crust is more than good to go.


Filling
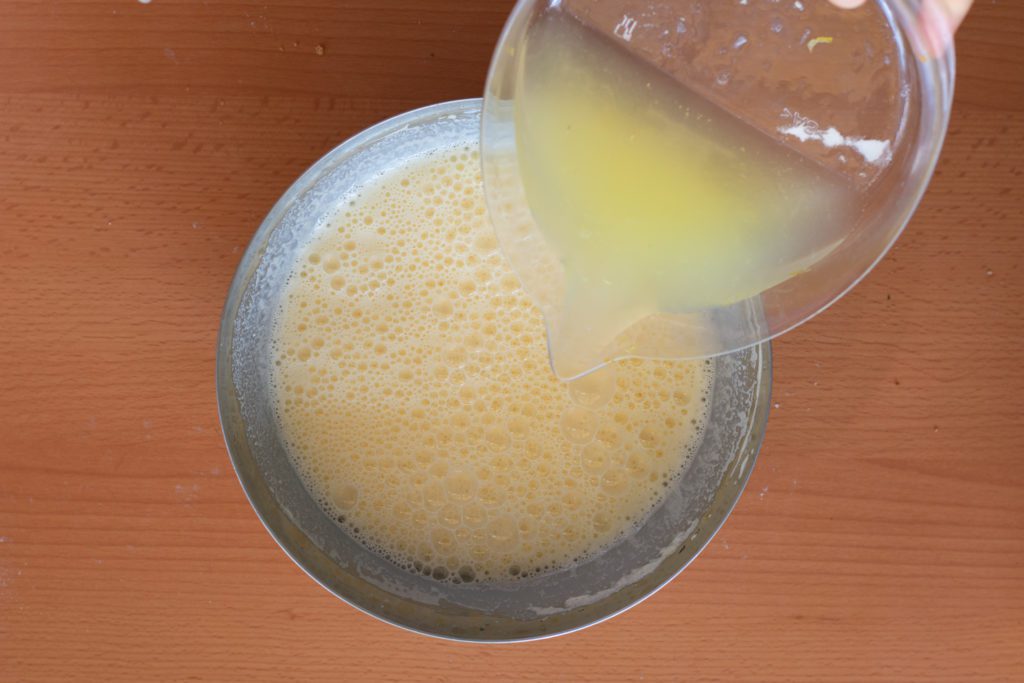
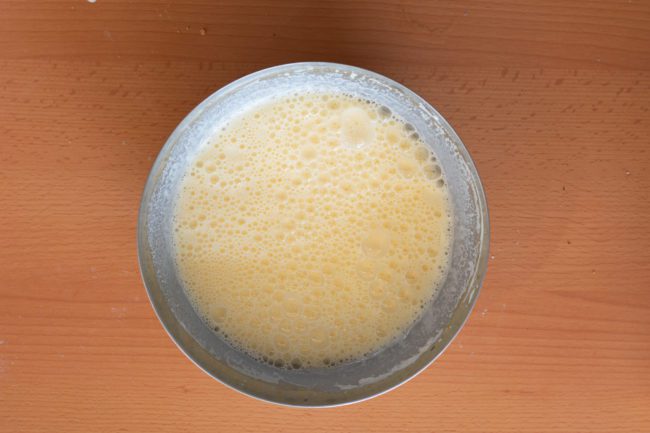
- Beat together the double cream, eggs and honey or sweetener of choice.
- Squeeze the lemon and grate one of the lemon skin for zest. Stir in the lemon juice and the zest.

Assembly
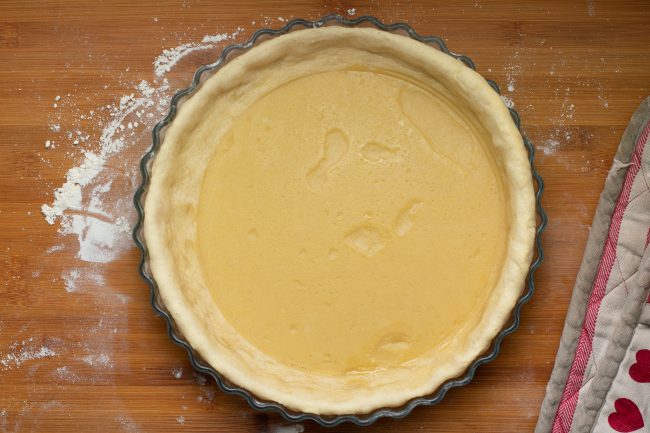
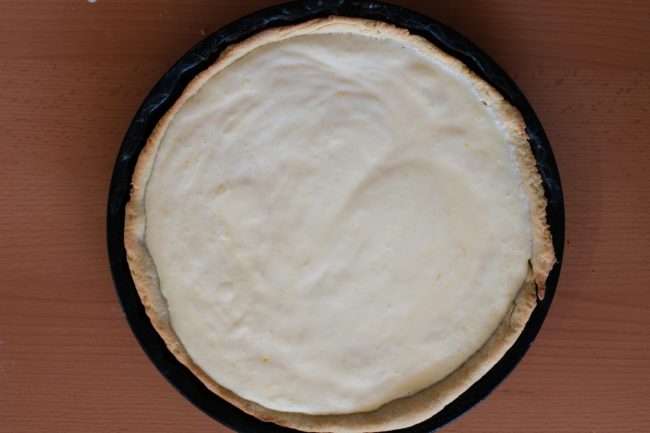
- Pour the filling into the crust. Placing a crust protector on may be a good idea depending on our oven and the state of our pre-baked crust. In case of emergency make one from tin foil like we did with quiche at the Savory Baking Recipes
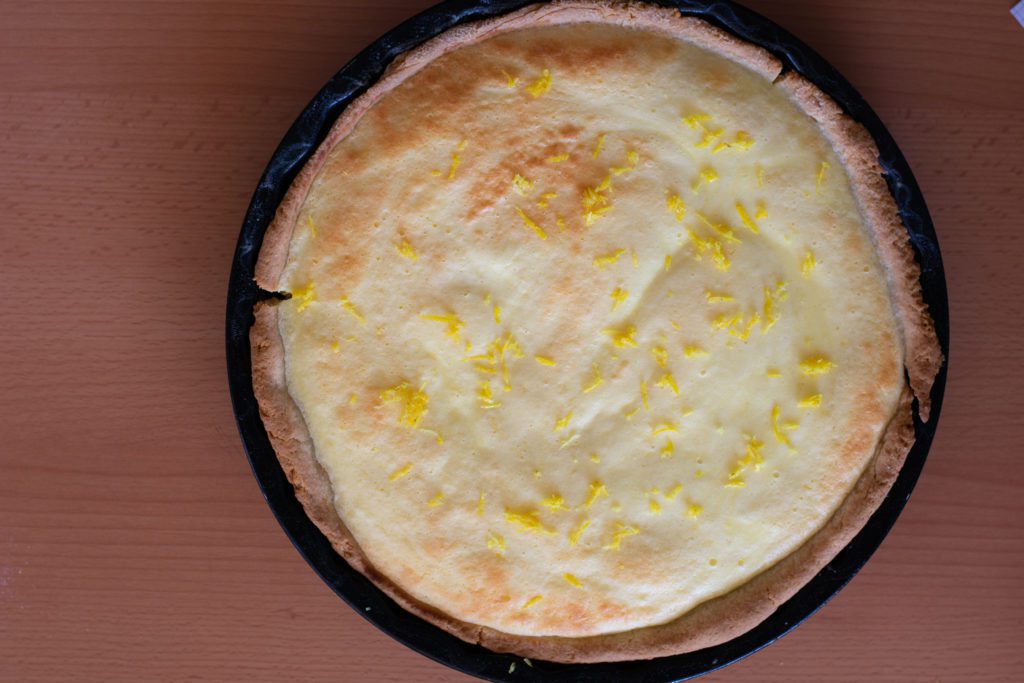
- Sprinkle some lemon zest on top then place the tray to bake in the oven for another half an hour. In case we have forgotten the zest worry not, it can be added anytime.
- When it’s baked, take it out to cool down. Slice and serve it chilled.


Enjoy!
Tart isn’t the only name for round cakes that’s for sure nor lime is the only filling. Do check out these lovely flavors too:
- Gluten Free Cherry Pie Recipe [Sugar Free]
- Cottage Cheese Pie
- Lemon Cream Pie Recipe
- Simple and Delicious Sugar Free Apple Pie Recipe

Healthy Lemon Tart Recipe
Ingredients
Crust:
- 2 cups / 250g Flour
- 7 tablespoons / 100g Butter room temperature
- 1 tablespoon Honey or sweetener of choice optional
- 2 Eggs
- 2 tablespoons Water
Filling:
- ¾ cup / 200ml Heavy whipping cream
- 3 Eggs
- 3 tablespoons Honey or sweetener of choice
- 3 Juice of lemon
- 1 Zest of lemon
Instructions
Crust
- Measure crust ingredients: flour, butter, eggs, honey or sweetener of choice and some water into a mixing bowl.

- Knead it by hand until it comes together and doesn’t stick neither to bowl nor to hand.
- Take it out to a lightly floured surface to roll a disk size of the baking tray out of it.
- Place the disk into the baking tray. Press down gently on the bottom and sides.
- Poke some holes in the dough with a fork.
- Place a baking paper and some kind of weight on top to prevent the dough elevating from the tray.
- Put it in the preheated oven to bake about 10 -15 minutes until the crust sets. Baking balls can be left there during the whole time but other weights should be taken off about halfway through the pre-baking otherwise the dough doesn’t set properly.
- Once golden brown spots starts to appear the crust is more than good to go.


Filling
- Beat together the double cream, eggs and honey or sweetener of choice.
- Squeeze the lemon and grate one of the lemon skin for zest. Stir in the lemon juice and the zest.

Assembly
- Pour the filling into the crust. Placing a crust protector on may be a good idea depending on our oven and the state of our pre-baked crust. In case of emergency make one from tin foil like we did with quiche at the Savory Baking Recipes
- Sprinkle some lemon zest on top then place the tray to bake in the oven for another half an hour. In case we have forgotten the zest worry not, it can be added anytime.
- When it’s baked, take it out to cool down. Slice and serve it chilled.


Notes
Pin now, Enjoy later!

Lovely looking piece of tart. How long do you think it could be kept in the fridge?
Thanks a lot! General food safety advice recommends not more than 6 days for cooked/baked eggs in the fridge. As the filling has a fairly lot eggs it’s best to follow that advice even if the cake survives longer while still manages to look tasty. Best to keep it in a container with a lid with a piece of paper kitchen towel placed between the lid and the container so the evaporating humidity gets trapped in the towel which can be replaced easily. This helps keep mold getting to hold our precious cakes. It can be kept simply on a plate too but that may result the crust to dry out and flake off in pieces apart of collection flavors from neighboring dishes.
So in reality it’s possible to keep it in the fridge for 6 days but few ( I know some ;D) will find it appetizing after 2-3 days. Mind that whipped cream if any shouldn’t be put on top before serving as cream without stabilizers can change back into liquid state in a couple of hours ruining the look of the whole tart / pie.