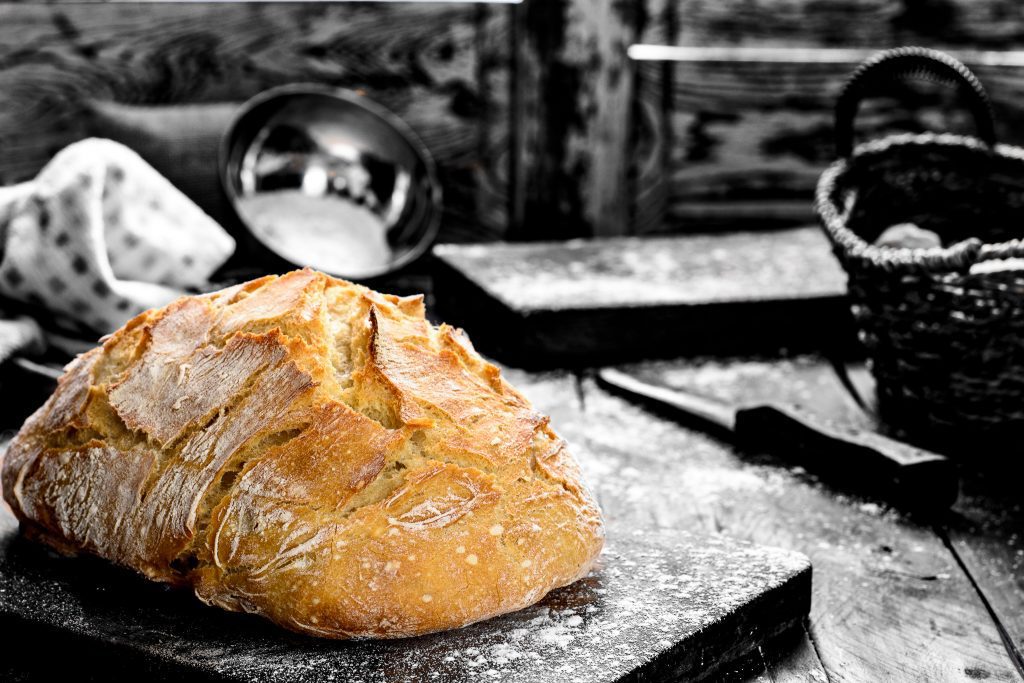
Run out of bread or just longing for the best? Let’s make this yeast bread that’s almost as good as one can get!
People were eating flat breads as long as they could figure out how to make flour from seeds. Mixing the dry powder of flour with water didn’t require science degree nor throwing the paste onto a hot stone and baking it.
Making the dough rise was an entirely different endeavor that required skill, patience, and creativity. Maybe a bit of desperation too if we think about how sourdough looks and what makes people mix that thing with perfectly good food.
After all, sourdough is no other, but flour mixed with water then left out in the open air for bacteria, and yeast -that can be found in thin air or even on our skin- to feast on it.
Upon contact with water, flour breaks down into sugar such as glucose and maltose. Unfortunately, only maltose can be metabolized by the gas producing (co2, ethanol) yeast, that will give rise to the gluten structured dough.
To keep the party going, yeast needs a bacterium to be invited too. Lactobacillus bacteria ferments the remaining starches which byproduct is more maltose for the yeast to gorge on.
Of course, even after figuring out how to leaven bread, people had no idea any of these things until microscopes were invented and the process was observed and analyzed, so they had to figure out things on the hard way, by experimentation.
They discovered that increasing the starter’s rest interval between refreshment, promoted less gas production and more acidic dough. So, if they wanted fluffier and less sour bread, they needed to feed the sour dough starter with fresh flour more often.
They didn’t have any idea about how the high acidic level of the dough inhibits bacteria growth and leaves yeast without food or how temperature and water ratio to flour can influence the production.
Once they figured out, there were easier methods to make bread that they can control, like using brewer’s yeast, bread production took a different direction. Bakers started to produce whiter, and sweeter tasting bread.
In the 19th century, bread was made mostly with brewer’s yeast from new dough rather than sourdough. It lacked sourness associated with acidic fermentation of lactobacillus, but few cared to leave behind such troublesome and unreliable process that sourdough relied on.
Carefree times didn’t last long though. When beer makers switched fermentation process, a sudden yeast shortage fell on the bakers. They had to come up with a new solution instead of sourcing their yeast from brewers.
The need drove innovation and the Vienna process was developed in 1846 to create the forerunner to the product, we know today as baker’s yeast.
A lot of other things had to happen to get to where we are today, like advancement in microbiology thanks largely to Louis Pasteur (whose name may sound familiar from pasteurized milk) and his work.
Creating, the now familiar (to some) fresh yeast cubes, couldn’t have been possible without the refinement of industrial production processes in Great Britain or the introduction of centrifugal yeast separation in the US.
It seemed, fresh yeast or Baker’s yeast as it is known today by many, was on an unstoppable path to fame and stardom when World War II hit and the army needed something with longer shelf life and less susceptible to temperature changes.
Active dried yeast was developed by Fleischmann, and it is still used as a standard yeast for US military recipes. Yet, many of us may not even heard about any of these yeast because what took the world over, since its introduction, was the fast-acting Instant yeast.
The main difference between active dry yeast and instant yeast is that instant yeast can be used in the recipes instantly without the need of an initial rise that could take ages or at least hours with fresh or active dried yeast.
Sure, flavor development suffers greatly, using instant yeast, but some don’t mind making such sacrifices to cut down on preparation time and overall labor.
The difference, in flavor between active dry yeast and fresh yeast, isn’t as pronounced and it depends on the number of taste buds or amount of sugar we stuff into our baked good, not even recognizable.
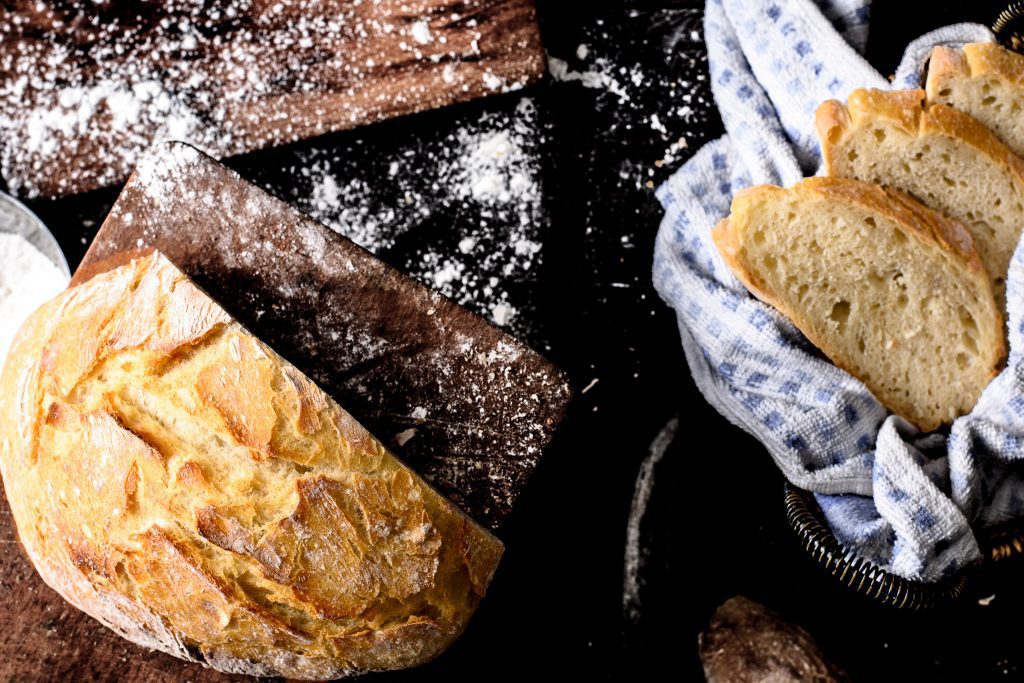
When it comes to plain good old bread where there is nothing in the dough but flour, water, salt and yeast, we may need every extra push we can get.
Ingredients
Starter
- ⅞ cup / 100g Plain flour
- ½ cup / 100ml Water
- ¼ teaspoon / 1g Fresh yeast
Plain Flour Dough
- 3 cups / 350g Flour
- 1 teaspoon / 5g Fresh yeast
- 2 teaspoon / 10g Table salt
- 1 cup / 250ml Water
Brown / Spelt Bread Dough
- 3 cups / 350g Spelt or brown bread
- 1 teaspoon / 5g Fresh yeast
- 2 teaspoon / 10g Table salt
- 1¼ cup / 350ml Water
- ¼ cup / 30g Sunflower seed (in the dough)
- 1 teaspoon / 3g Poppy seed (sprinkle on top)
- 1 teaspoon / 3g Sesame seed (sprinkle on top)
How to make Yeast bread
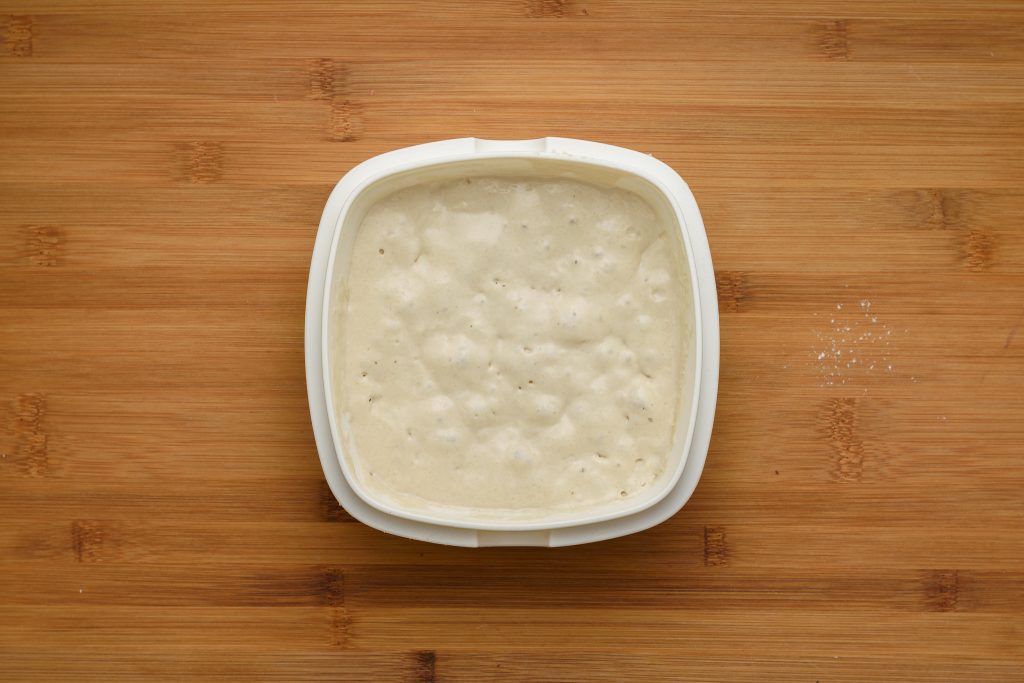
Starter
- Making a starter is not absolutely necessary but it will provide a more complex flavor for the dough. Combine flour, water and the yeast in an airtight container and put it into the fridge for at least 4 – 8 hours. It will double in size so choose a big enough box. If starter is NOT used, simply add the amount of flour and water to the dough.

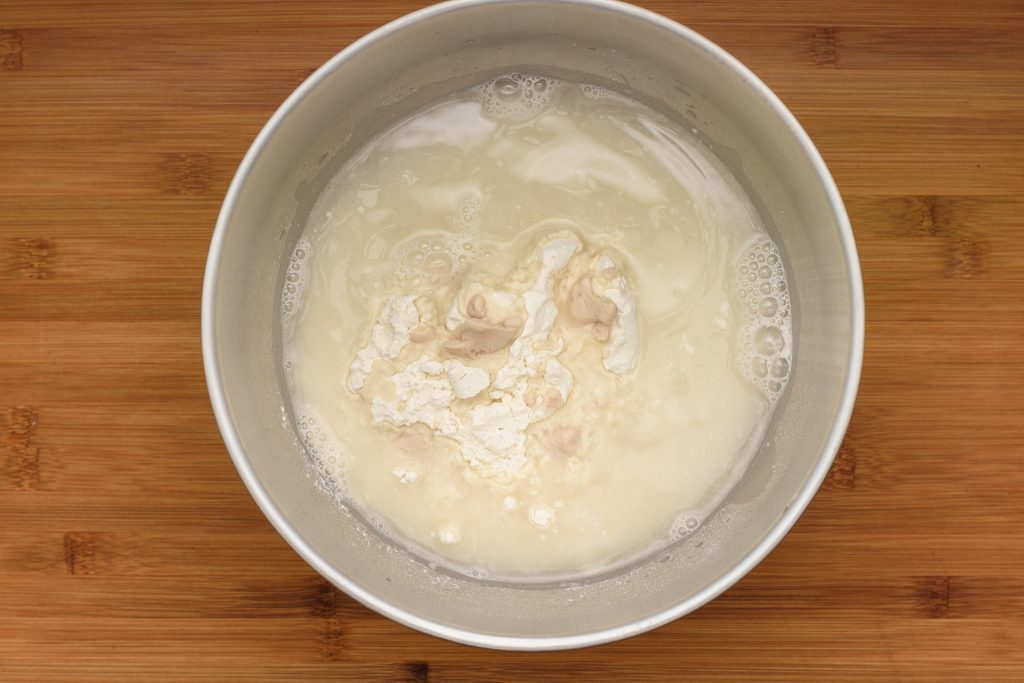
Dough
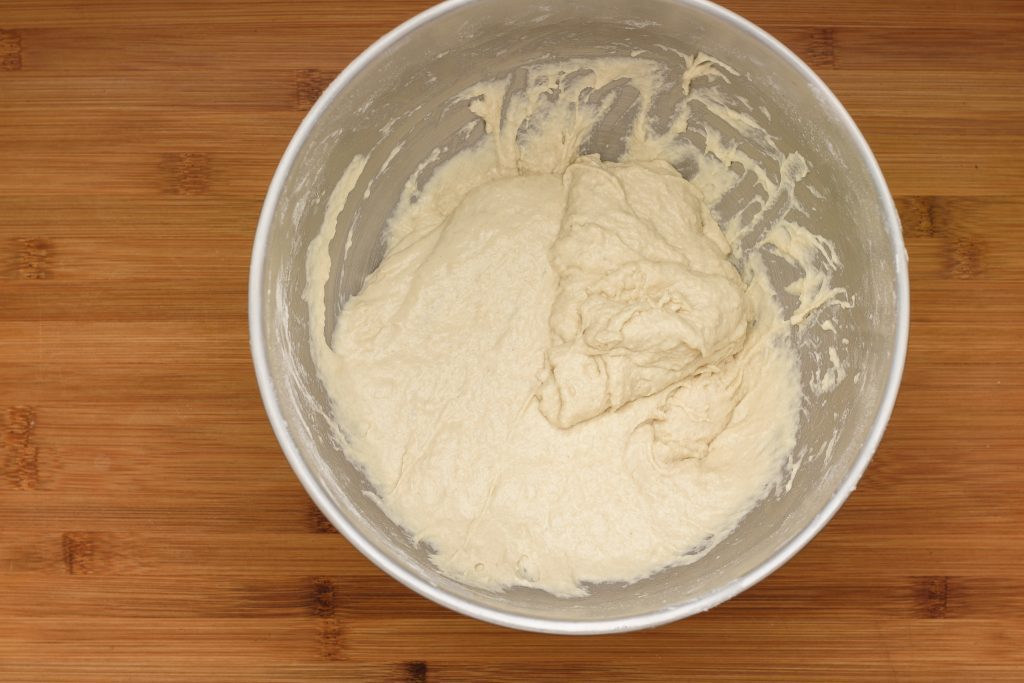
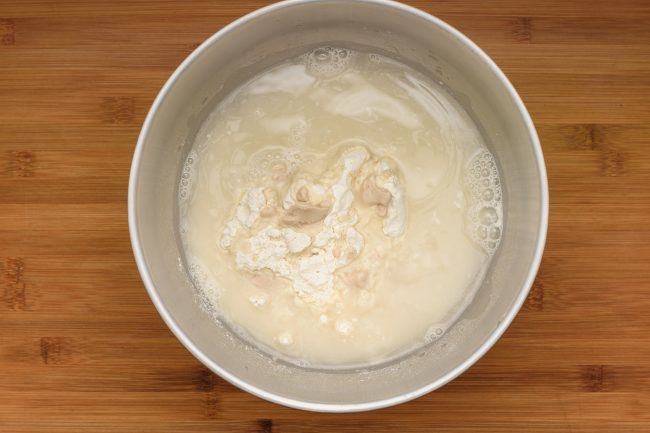
- Measure flour, water into a kneading bowl and sprinkle fresh yeast on top. No need to dissolve the yeast. Add starter too or add the amount of flour and water to the dough.
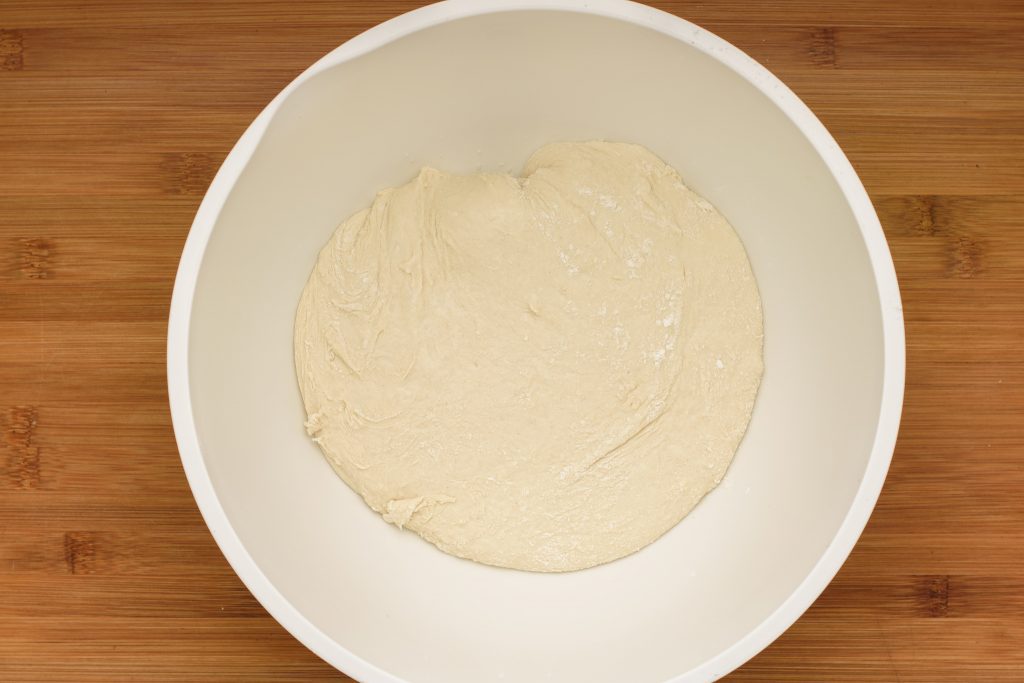
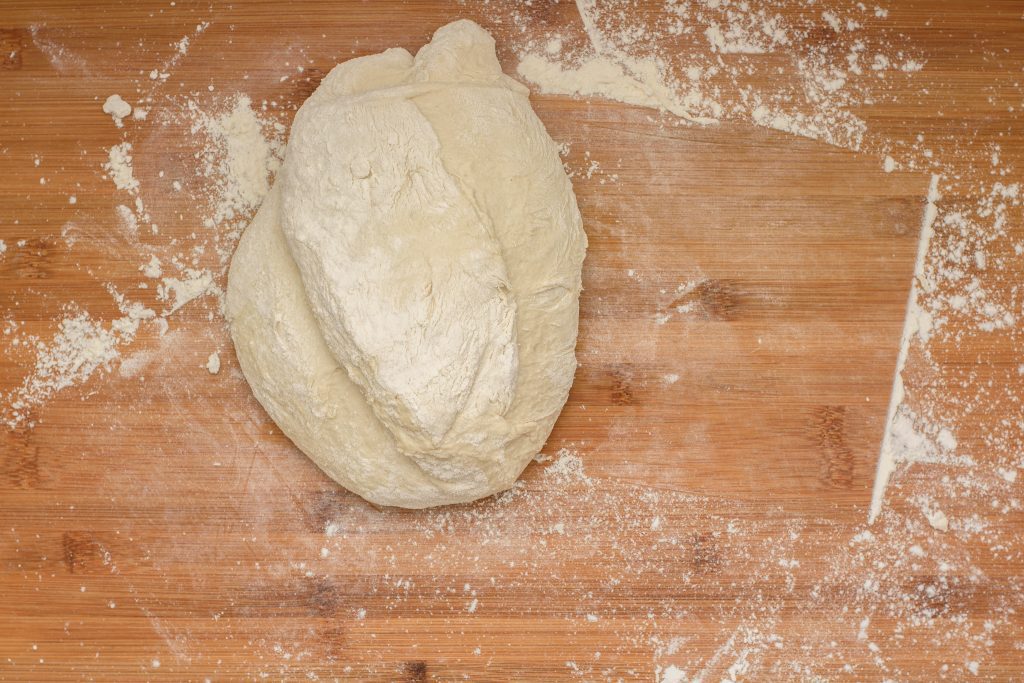
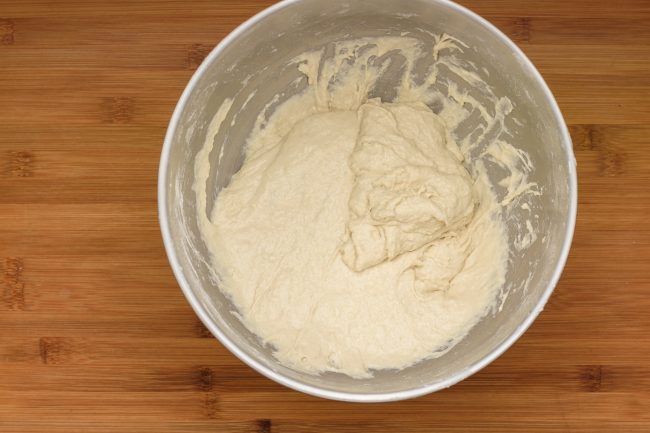
- Knead the dough until it comes together. We are after a sticky humid dough.
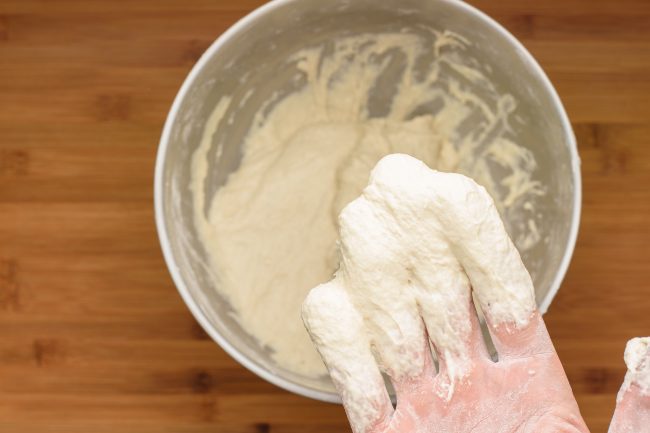
- When handling the dough by hand, flouring will prevent the dough to stick to it, sort of.
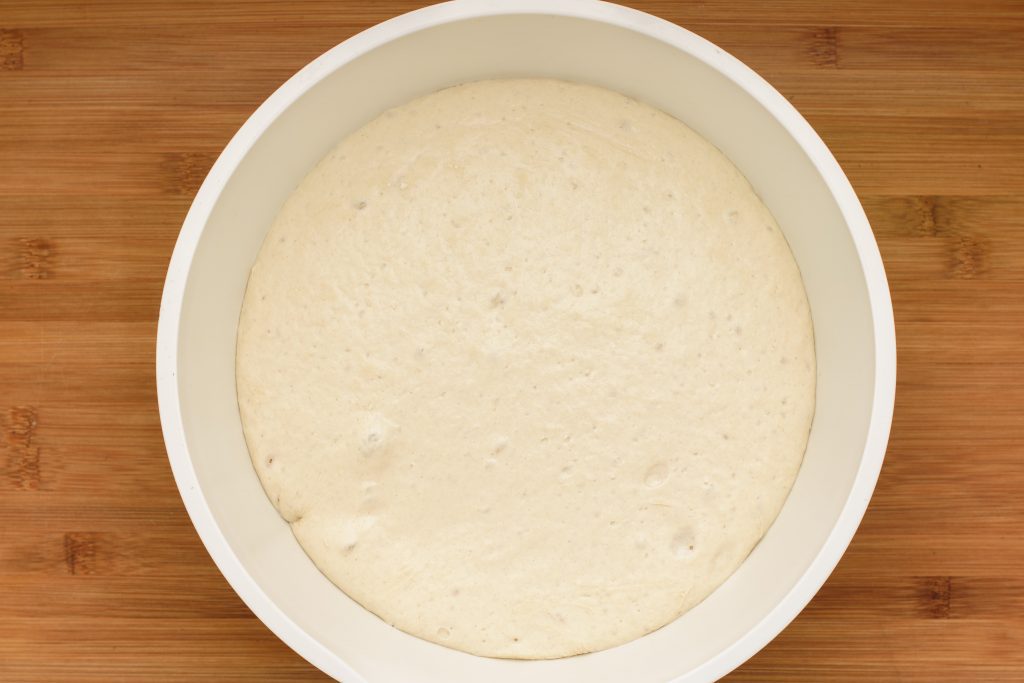
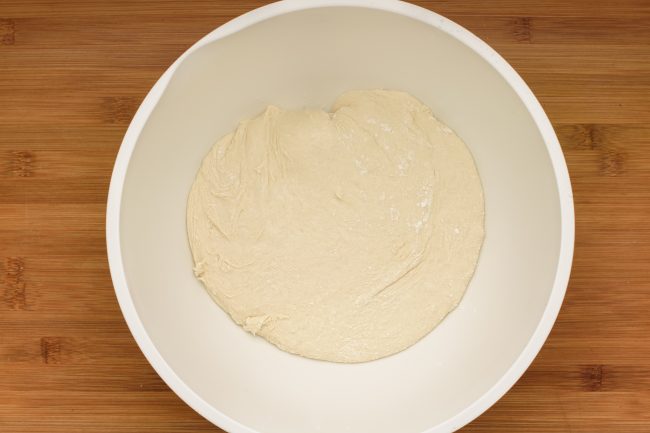
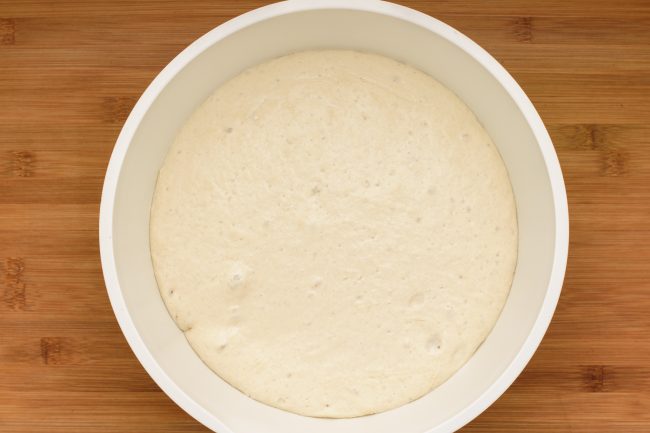
- Place the dough to a 68°F – 81°F / 20°C – 27°C corner.
- Cover it and let it double for 40 – 90 minutes depending on the temperature.
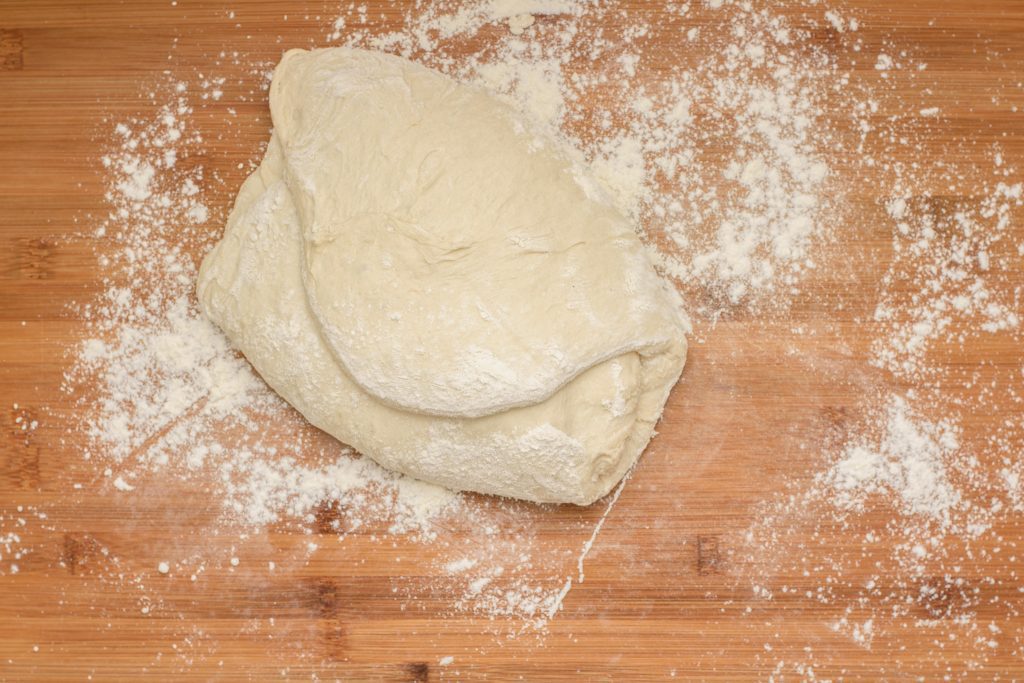
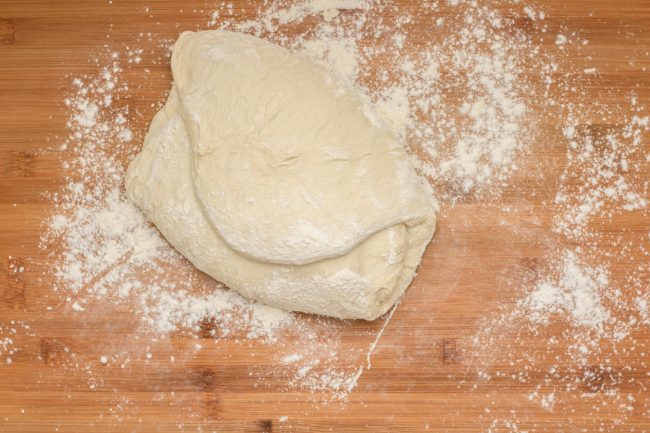
- Before start working with the dough again, place a cast iron skillet with a lid into the oven and preheat it to 480°F / 250°C. For some ovens this can take as long as 30 minutes. Cast iron skillet is not obligatory if we have a steam oven or anything that won’t melt in the oven, yet won’t allow the steam to escape from around the bread. Take the dough out onto a well floured surface. It will stick anyway.
- With a floured spatula fold the sides of the dough into the middle.
- Repeat several times until a somewhat round, ball shape is formed.
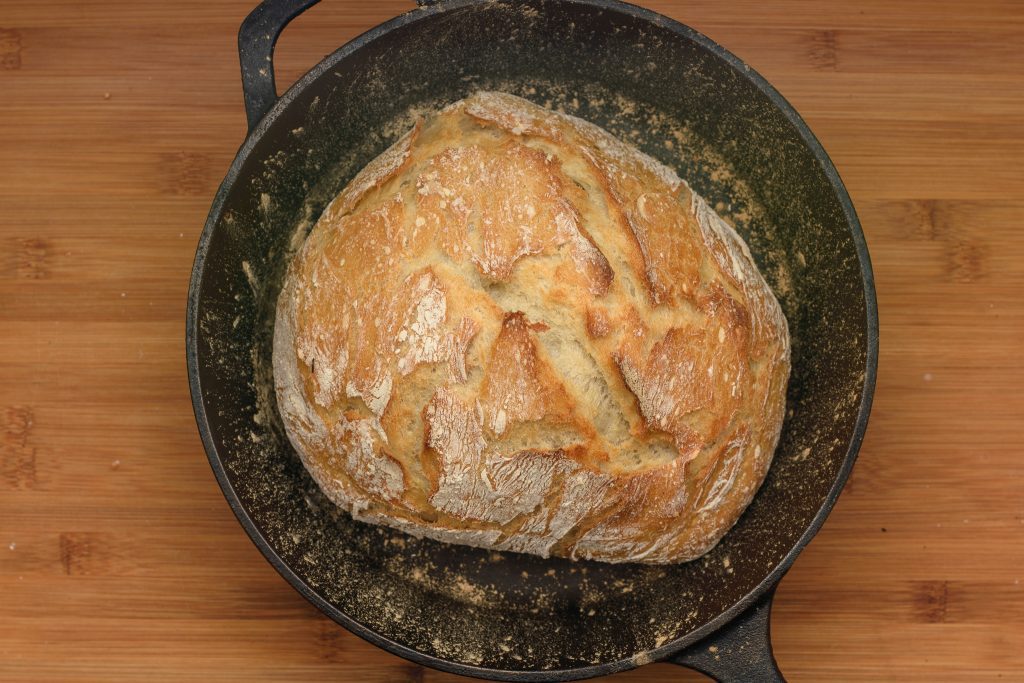
- Place the dough into the preheated cast iron skillet as quickly as possible. Mind that it’s very hot. If not very familiar how to work with a spatula, prepare the dough by placing it onto a parchment paper and use that to transfer the dough into the skillet easily.
- Put the lid on and place it into the middle rack of the preheated 480°F / 250°C oven until crust forms, for about 30 minutes.
- Take the lid off and let it bake until golden brown crust forms, for about another 15 minutes.


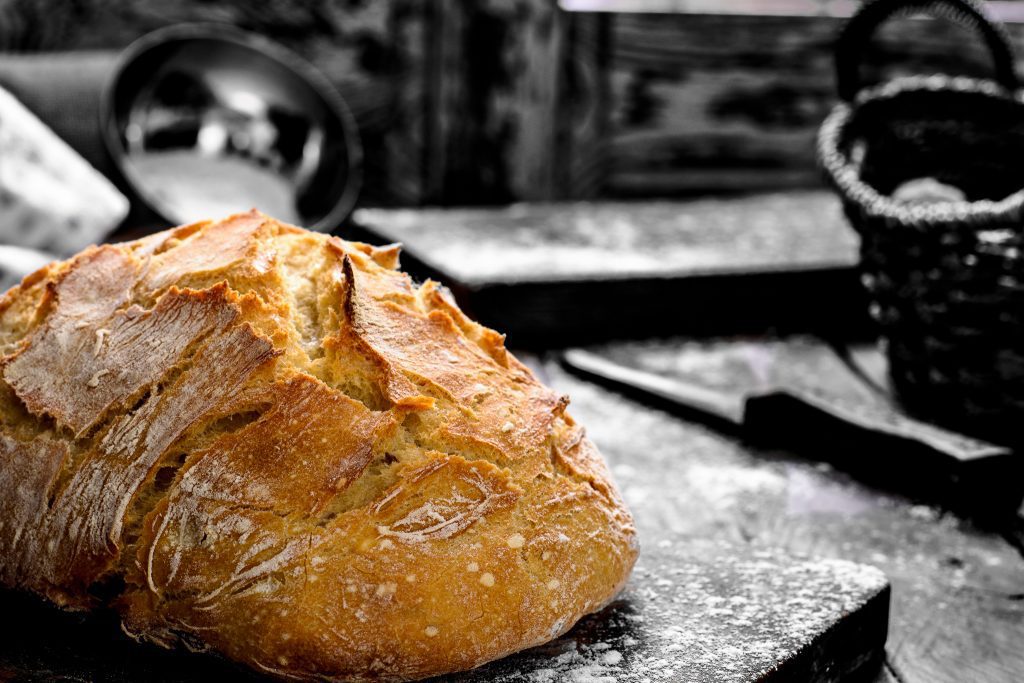
Enjoy!
Yeast Bread Recipe
Ingredients
Starter
- ⅞ cup Flour
- ½ cup Water
- ¼ teaspoon Fresh yeast
Dough
- 3 cups Flour
- 1 teaspoon Fresh yeast
- 2 teaspoon Table salt
- 1 cup Water
Instructions
Starter
- Making a starter is not absolutely necessary but it will provide a more complex flavor for the dough. Combine flour, water and the yeast in an airtight container and put it into the fridge for at least 4 – 8 hours. It will double in size so choose a big enough box. If starter is NOT used, simply add the amount of flour and water to the dough.


Dough
- Measure flour, water into a kneading bowl and sprinkle fresh yeast on top. No need to dissolve the yeast. Add starter too or add the amount of flour and water to the dough.
- Knead the dough until it comes together. We are after a sticky humid dough.
- When handling the dough by hand, flouring will prevent the dough to stick to it, sort of.
- Place the dough to a 68°F – 81°F / 20°C – 27°C corner.
- Cover it and let it double for 40 – 90 minutes depending on the temperature.
- Before start working with the dough again, place a cast iron skillet with a lid into the oven and preheat it to 480°F / 250°C. For some ovens this can take as long as 30 minutes. Cast iron skillet is not obligatory if we have a steam oven or anything that won’t melt in the oven, yet won’t allow the steam to escape from around the bread. Take the dough out onto a well floured surface. It will stick anyway.
- With a floured spatula fold the sides of the dough into the middle.
- Repeat several times until a somewhat round, ball shape is formed.
- Place the dough into the preheated cast iron skillet as quickly as possible. Mind that it’s very hot. If not very familiar how to work with a spatula, prepare the dough by placing it onto a parchment paper and use that to transfer the dough into the skillet easily.
- Put the lid on and place it into the middle rack of the preheated 480°F / 250°C oven until crust forms, for about 30 minutes.
- Take the lid off and let it bake until golden brown crust forms, for about another 15 minutes.


Notes
Nutrition
Pin now, Enjoy later!
